Logitech Rally Bar Setup Guide: Room Requirements and Installation Checklist
Ordering a Logitech Rally Bar is the easy part. Getting it mounted, networked, paired with the right compute unit, and actually usable on day one takes some planning most teams skip until they hit a problem in the room. This guide walks through the room requirements and installation steps an IT or AV admin needs to check before, during, and after a Rally Bar install, so you are not troubleshooting basic issues during the first live call.
Quick verdict
The Rally Bar is an all-in-one device: camera, speakers, microphone array, and compute all live in one chassis, connected to your Teams Rooms or Zoom Rooms mini PC (or in some setups directly to the display) with a single cable. That reduces the cabling work compared to older modular systems with separate camera, speaker, and mic pucks, but it does not remove the need for proper room measurement, a wired network drop, a confirmed compute pairing, and a test call before you hand the room back to the business. Skip any of those steps and you will get a support ticket within the first week.
Who this is for
- IT or AV admins doing the physical install and network setup for a Rally Bar, not just evaluating whether to buy one
- Teams responsible for standardizing meeting room builds across multiple rooms or sites
- Helpdesk and facilities staff who need a repeatable checklist rather than a marketing overview
- Anyone who already has a Rally Bar in hand and needs to know what to check before mounting day
If you have not yet decided whether the Rally Bar is the right device for the room, read the full Logitech Rally Bar review first. This guide assumes that decision is already made and focuses purely on getting the install right.
Step 1: Measure the room before you order mounting hardware
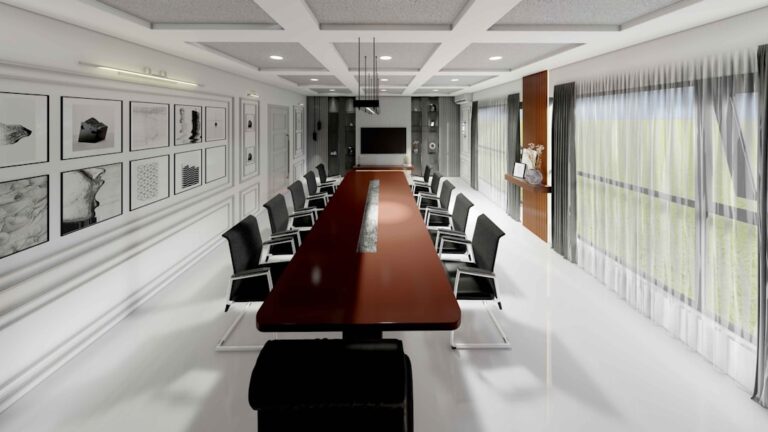
The Rally Bar is built for larger conference rooms, generally 10 or more people, not small huddle spaces. If your room seats fewer than 6, look at the Rally Bar Mini instead rather than forcing the larger bar into a small footprint.
Before ordering any mount, measure the room and note:
- The distance from the display wall to the far edge of the table, since this affects how far the camera has to see and how well the mic array can pick up voices at the back of the room
- Whether the bar will mount above, below, or beside the display, and whether that position keeps the camera roughly at eye level for a seated participant
- The table shape and seating arrangement, since off-axis seating (long narrow tables, U-shapes) changes how well auto-framing and audio pickup perform
Video bars are typically mounted at or just below the display, centered on the table, for balanced camera framing. Mounting too high or too far to one side is one of the most common reasons a room “looks off” on camera even though the hardware is fine.
Step 2: Plan the network drop and VLAN before mounting day
Do not rely on WiFi for a business-critical conference room. Run a wired network connection to the mount location. Business meeting rooms need consistent, low-latency connectivity, and a shared office WiFi network competing with laptops, phones, and guest devices is not a reliable foundation for video calls.
Put the Rally Bar and its compute unit on a dedicated VLAN, or at minimum a VLAN with QoS prioritization for conferencing traffic, alongside your other meeting room endpoints. This keeps video and audio packets from competing with general office traffic during the 9am and 2pm meeting rushes, which is exactly when quality problems tend to show up.
Step 3: Confirm power requirements and cable routing
Before mounting anything, confirm whether the compute unit and display each need their own power run, or whether Power over Ethernet is being used for any part of the setup, since PoE support varies by configuration and should be confirmed with your Logitech reseller or device documentation. Plan the full cable path, including in-wall or under-table cable management, before the mounting bracket goes on the wall. Retrofitting cable management after the bar is already mounted usually means taking it back down.
The single-cable design between the Rally Bar and its compute unit simplifies this compared to older setups with separate camera, speaker, and microphone runs, but you still need power to the bar, power to the compute unit, and power to the display, plus the network drop from Step 2.
Cable checklist before mounting day
- Network drop terminated and tested at the mount location
- Power outlet or PoE injector confirmed for the compute unit
- Power confirmed for the display
- Cable management plan (conduit, raceway, or in-wall) agreed before drilling anything
Step 4: Confirm the compute pairing and firmware compatibility
The Rally Bar needs a certified compute unit (mini PC) running either Teams Rooms or Zoom Rooms. Before the install date, confirm exactly which compute unit model the room will pair with, and confirm firmware and software compatibility between the Rally Bar and that specific compute unit and OS version.
Mismatched firmware versions between the video bar and the compute unit are one of the most common day-of-install blockers. If your organization images compute units centrally, make sure the unit assigned to this room has already been updated and tested with a Rally Bar before it arrives on site, not after.
Step 5: Address room acoustics separately from the device
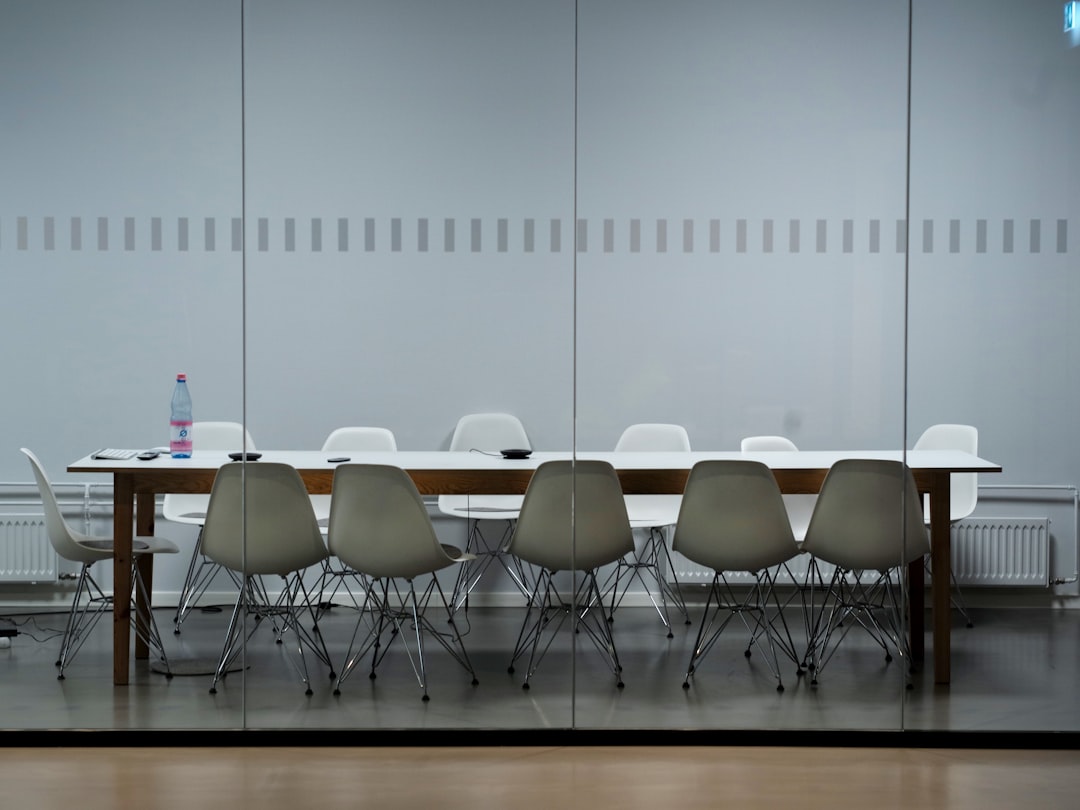
Hard surfaces such as glass walls, bare tables, and hard flooring increase echo and reduce microphone pickup quality no matter how good the device’s own audio processing is. If the room has glass walls or a large expanse of bare table, plan for sound-dampening panels, rugs, or curtains before the install rather than waiting for complaints and blaming the hardware afterward. This is a low-cost fix compared to swapping devices or escalating a “bad audio” ticket that is actually a room acoustics problem.
Step 6: Test the room before calling it done
Once the bar is mounted, networked, powered, and paired with its compute unit, run a real test call with the expected room occupancy before marking the room as ready. Check:
- Auto-framing behavior with people seated in their normal positions, not just one person standing near the device
- Microphone pickup from the seats furthest from the bar, which is where problems usually show up first
- Screen-share and whiteboard camera behavior if the room is expected to use those features
If any of these fail, it is far cheaper to adjust mount position, add acoustic treatment, or reassign the compute unit now than after the room has already been booked for a leadership meeting.
Step 7: Document the install for the helpdesk
Label and document the finished install, including the compute unit model, firmware version, network VLAN, and mount height. When a troubleshooting ticket comes in three months later, the technician handling it should not have to start from zero. A short internal record for each room saves real time across the life of the device.
Bottom line
The Rally Bar’s single-cable, all-in-one design cuts down on the mounting and wiring complexity of older modular room systems, but it does not remove the need for proper planning. Measure the room, run a wired network connection on a QoS-prioritized VLAN, confirm power and cable routing before mounting day, lock in the certified compute pairing and firmware version in advance, address acoustics separately from the device itself, and test with real occupancy before handing the room back. If you have not already reviewed the device itself, see the full Logitech Rally Bar review, and if you are still comparing camera options across different room sizes, check Best Meeting Room Camera 2026: Top Picks for Every Room Size before finalizing your room-by-room hardware plan.