How to Set Up Digital Signage for a Retail Store: An IT Deployment Guide
Retail digital signage has one requirement that office deployments don’t: it has to work in front of customers, visibly, during trading hours. Downtime is not an inconvenience, it’s a blank screen where a promotion should be. This guide is written for IT managers handling a retail signage deployment, whether it’s a single pilot store or a multi-location rollout.
Quick verdict
The biggest mistakes in retail signage deployments are undersized network infrastructure, consumer-grade hardware that can’t handle 16-hour daily operation, and no offline fallback for connectivity failures. Get those three right before worrying about content.
Step 1: Define the screen purpose and locations
Retail signage falls into distinct functional categories, each with different technical requirements:
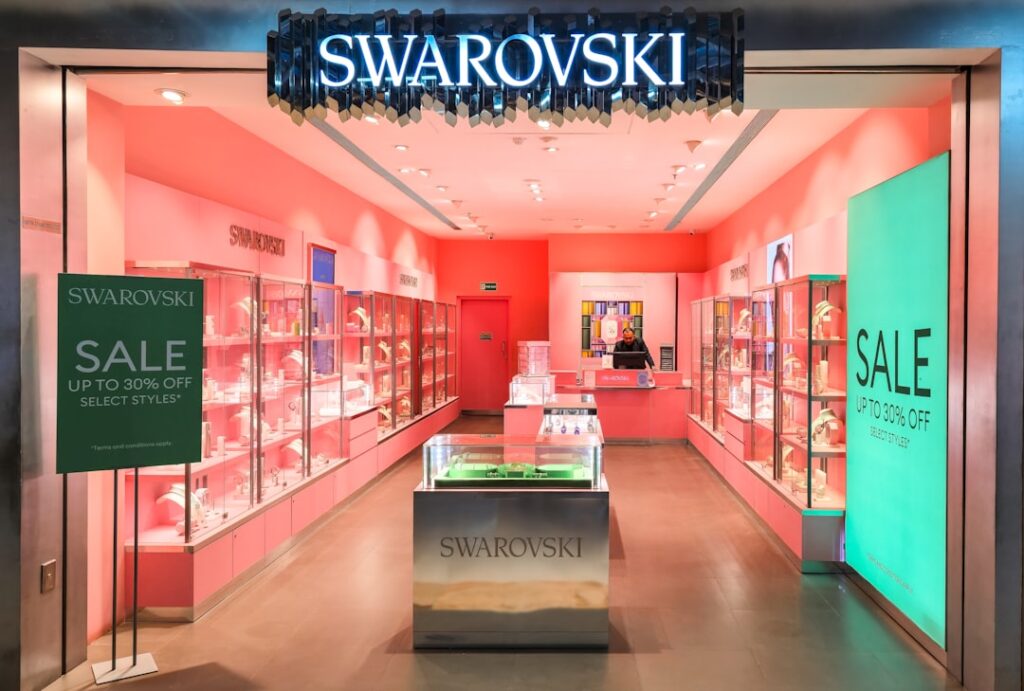
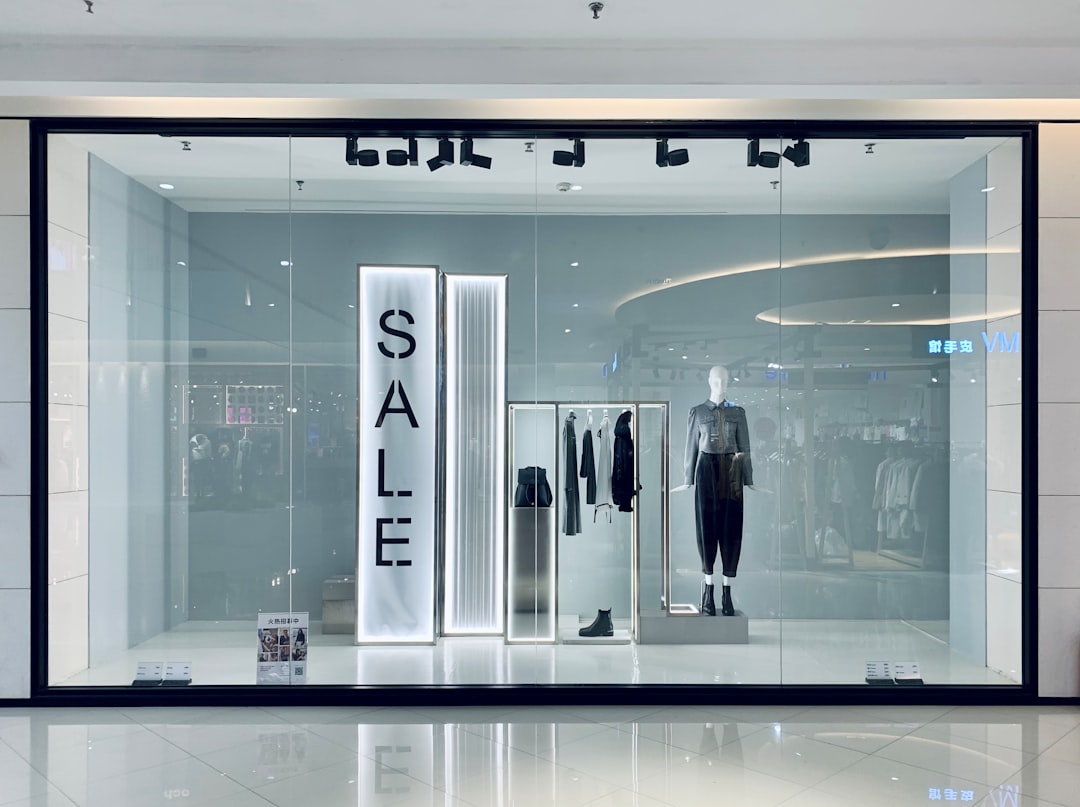
- Window displays: high ambient light, need high-brightness screens (2,500–5,000 nits vs. 300 nits for standard). Seen from outside, so content must be readable at distance and through glass.
- Endcap and aisle promotions: mid-store, moderate ambient light. Standard commercial displays (400–700 nits) work fine.
- Checkout queue screens: captive audience, longer dwell time, ideal for promotions, loyalty programme messaging, upsells.
- Menu boards: food service or café areas, must update fast, need accurate pricing. Any latency in content updates shows.
- Wayfinding / directory: entrance or larger stores, static or semi-static content, lower update frequency.
Map each screen position before specifying hardware. A single store may need three different screen types.
Step 2: Choose commercial-grade hardware
Consumer TVs fail in retail environments. The reasons are specific:
- Consumer panels are rated for ~4 hours/day. Retail means 12–16 hours/day. Consumer displays overheat and fail within months.
- Consumer TV operating systems (Android TV, Tizen for consumer) have power-save modes that dim or turn off screens, you can’t always disable them fully.
- Consumer screens have no remote management capability. When one fails, you find out when a customer or manager phones in.
Minimum specification for retail use:
- Commercial-grade display with 16/7 or 24/7 rating depending on trading hours
- 400+ nits brightness (2,500+ for windows)
- Built-in media player (SoC displays, Samsung SSSP/Tizen, LG webOS) or external commercial media player
- RS-232 or LAN control for remote on/off scheduling
For budget deployments, Amazon Fire TV Sticks on commercial displays is a widely used combination. The Fire Stick handles the player; the commercial display handles the hours. Verify your chosen signage CMS has a stable Fire OS app before committing to this approach.
Step 3: Plan the network
Retail environments often have poor IT infrastructure, a single consumer router handling POS, EPOS, customer Wi-Fi, and now signage. Signage should be on a dedicated VLAN or network segment, separated from:
- PCI-DSS payment card networks (legal requirement to segregate)
- Customer-facing Wi-Fi
- CCTV/security systems
Bandwidth per screen depends on content type. Static images and HTML content use minimal bandwidth (< 1 Mbps per screen). Video-heavy content can use 5–15 Mbps per screen during downloads. Most CMS platforms download content to local storage and play locally, bandwidth spikes during content sync, not during playback. Schedule content syncs overnight to avoid peak-hours bandwidth contention.
Plan for offline operation. Screens should continue playing cached content if the internet connection drops. Test this before launch, walk to the router and unplug it. If screens go blank or show error messages, fix the offline fallback before going live.
Step 4: Choose a CMS with retail-relevant features
Not all digital signage platforms handle retail use cases equally. Key capabilities for retail:
- Fast content updates: promotional changes (flash sales, price drops) need to be live within minutes, not hours
- Schedule by day and time: morning vs. afternoon content, weekday vs. weekend promotions
- Remote device management: see which screens are online, reboot remotely, push emergency content
- Template system: marketing teams need to update promotions without IT involvement
- Multi-location management: if you’re deploying to multiple stores, managing each independently doesn’t scale
Platforms commonly used in retail include ScreenCloud (strong app ecosystem, retail-specific integrations), OptiSigns (good value, Engage tier for interactive kiosk capability), and Yodeck (good for smaller retail chains). For European deployments, TDM Signage covers the core retail use case well. See the full platform comparison for pricing.
Step 5: Content strategy for retail
Retail signage content has a short window, customers passing an aisle screen have 3–5 seconds of attention. Rules that apply:
- One offer per screen: the highest-priority promotion gets the screen. Don’t rotate 6 different promotions; a customer sees 1–2 and misses the rest.
- Price prominent: if the message is a price, it should be the largest element on screen. Marketing teams frequently bury it.
- Brand consistency: use templates locked to brand guidelines. Give marketing teams content zones to fill, not a blank canvas.
- Seasonal sync: a good retail content calendar runs 6–8 weeks ahead. Content should be live before the relevant promotions start, not the day of.
- Emergency override: test the emergency content override before launch. You need to be able to push a single message to every screen in under 2 minutes.
Step 6: Installation and mounting
Commercial display installation in retail environments has specific requirements:
- Cable management: exposed cables in a retail environment look unprofessional and create trip hazards. Conduit or in-wall routing is standard.
- Viewing angle and height: endcap screens should be at eye level (160–170cm to screen centre). Ceiling-mounted screens need tilt mounts to maintain readability.
- Security: displays in customer-accessible areas should be on anti-theft mounts with tamper-resistant fastenings.
- Heat: displays in enclosed areas (e.g. countertop enclosures) need adequate ventilation. Commercial displays generate significant heat at high brightness.
Step 7: Testing before go-live
Pre-launch checklist for retail signage:
- All screens powered on 24 hours before launch to identify any DOA units
- Content correct and up to date on every screen
- Offline playback tested (unplug network, verify content continues)
- Remote management access confirmed for all screens from HQ
- Power scheduling set (automatic on/off matching trading hours)
- Emergency content override tested end-to-end
- Staff trained on who to contact if a screen goes down
Typical deployment costs (indicative)
For a small retail pilot of 5–10 screens, budget for:
- Commercial display hardware: €500–2,000 per screen depending on size and brightness requirements
- Media players (if not SoC): €200–500 per screen for commercial-grade; ~€50 for Fire Stick on a budget
- Mounting and cabling: €150–400 per screen installed
- CMS licence: €8–30 per screen per month depending on platform
Verify current hardware pricing with suppliers and CMS pricing at vendor sites, costs shift regularly.
Bottom line
Retail digital signage is not fundamentally harder than office signage, but the margin for error is lower. Customers see failures. Focus on reliable hardware, segregated networking, offline fallback, and a content workflow that lets marketing update promotions without raising an IT ticket. Get those right and the screens will run themselves.
For a broader view of signage platform options, see the digital signage buyer’s guide.